The latest version of Xpert-Timer.Web can be found at:
https://download.xpertdesign.de/XTInstWeb.exe
The installation wizard guides you through the installation.
Please note the following:
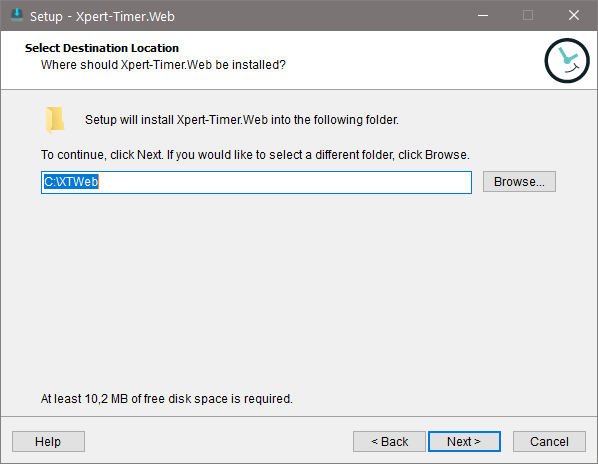
1.Installation in C:\Program Files (x86) or C:\Program Files is NOT possible. We recommend a path directly on the C: drive, e.g. C:\XTWeb. 2.In order to use the XTCloudServer and XTWeb you need user licenses. Make sure you obtained them from Xpert-Timer Software. Please import the new license file directly in the Xpert-Timer for Windows. The data are saved in the database and are then readable for the XTCloudServer. 3.In the Xpert-Timer for Windows you have to set the login of the corresponding employees using XTWeb to "Web". You find the setting under "Window"->"Employee"->Double click on the employee -> Tab "Employee"->"Login mode"-> Web. 4.For Android devices, a webapp named "Xpert-Timer.Web" is available for download on the Google Playstore. This is far more comfortable than working on your smartphone or tablet via the browser.
|
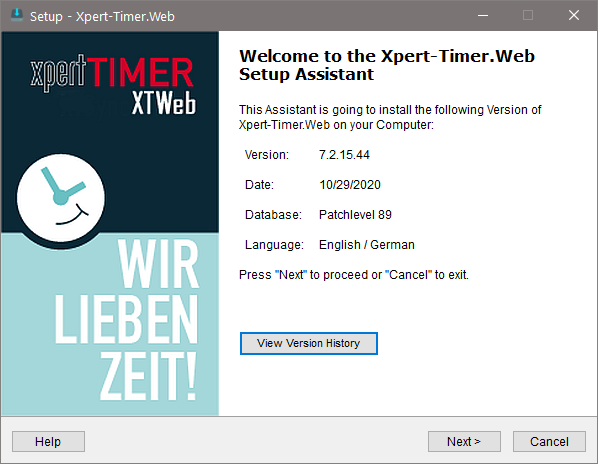
Start of the installation wizard:
The installation in C:\Program Files (x86) or C:\Program Files is NOT possible due to the rights restrictions when starting a Windows service. We recommend a path directly on the C: drive, e.g. C:\XTWeb.
Currently XTCloudserver is only available in the language "German".

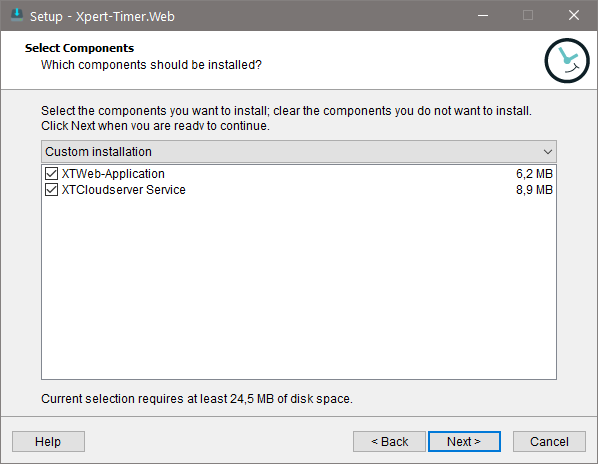
Be sure to install the XTWeb application as well as the XTCloudserver service. These two installation parts are necessary for a functioning installation. The XTCloudserver test is only for error identification and is not required for production operation.
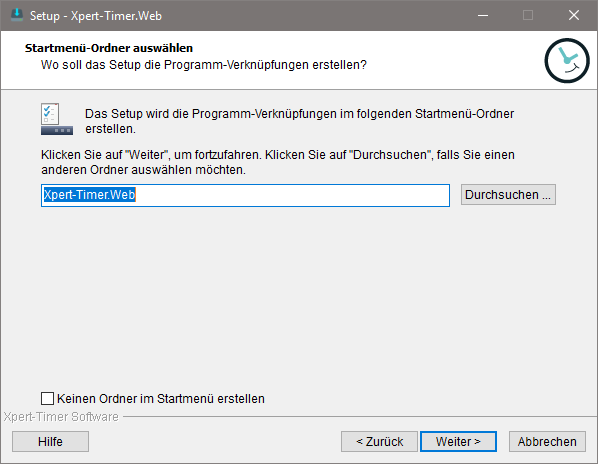
Name the folder for your start menu.
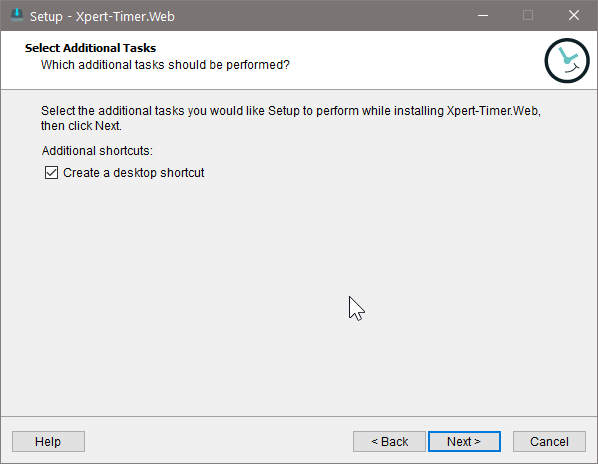
If necessary, create a desktop icon for the XTCloud configuration.
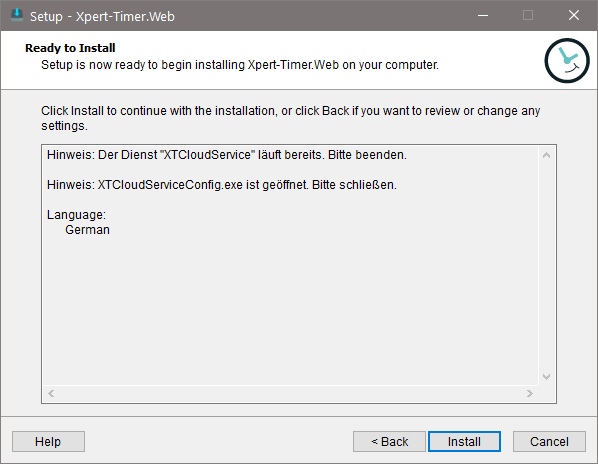
Confirm your installation with "Install".
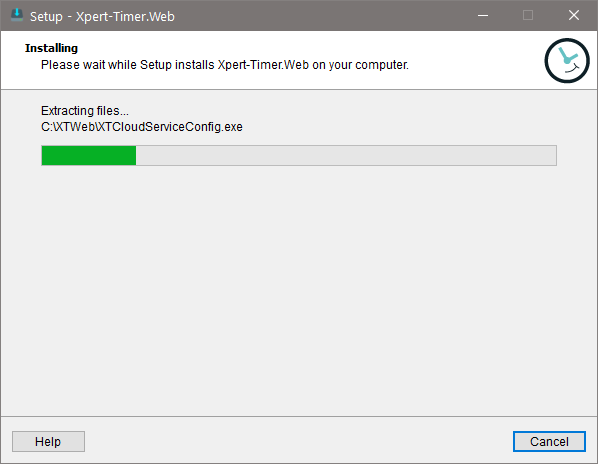
Follow your installation.
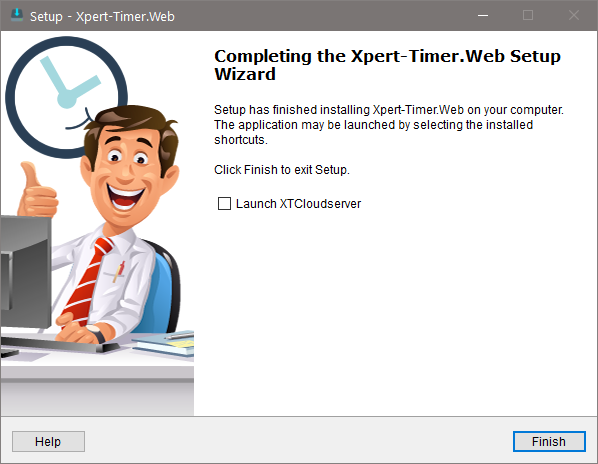
Perfect! Now read on in chapter cloudserver-configuration.